I know of at least five different types of timers being used with Actifry™ machines.
1. Actifry Classic Type Timer
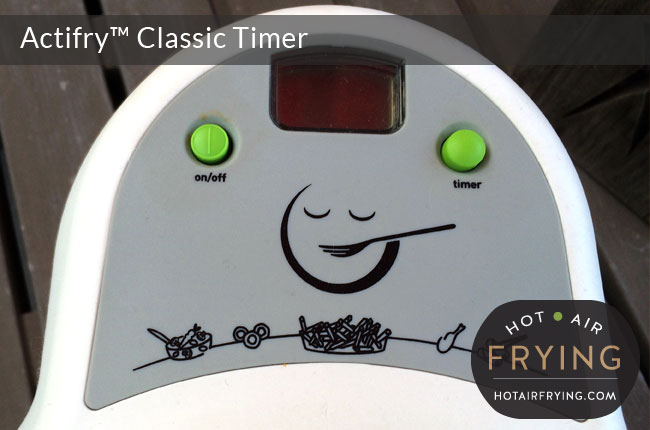
The Actifry Classic type timer is only that: a timer. It won’t automatically start or stop the machine. You start and stop the machine manually via the on / off button to the left of the timer button.
The cooking time displays on the small LCD screen in between the two buttons.
Most people tend to think that the timer’s “time’s up” ding is too faint. You need to listen very carefully for it.
Raising and closing the lid does not affect the timer at all.
The power button shown switches the motor and the fan on and off.
The timer runs off a small battery which must be replaced from time to time.
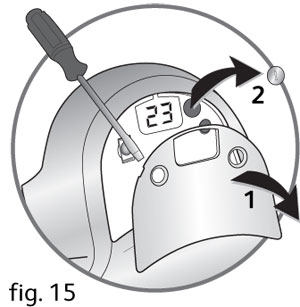
Quoting from the manual, “This appliance uses a button battery — L1154. To change the battery, remove the control panel with a small flat bladed jewellers screwdriver. Prise the control panel up by inserting the screwdriver into the gap at the top of the panel. Remove the white battery cover and replace the battery… Put the battery cover back on and clip the control panel back on.”
2. Actifry Family Type Timer
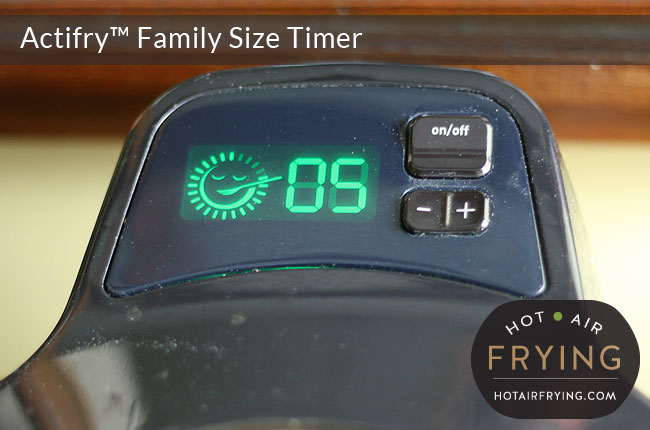
The timer on the Actifry Family Size model actually interacts with the machine to start and stop the machine automatically. The machine will start immediately after you finish selecting the cooking time; there is no need to press another button. When the timer goes off, it turns cooking off as well, and you know it: it has one of the loudest beeps of all the Actifry models.
The power button shown switches the motor and the fan on and off.
The timer can survive the machine being unplugged for 2 or 3 minutes, , and it will remember where it was at and pick right back up again.
The timer is fully electric and does not require a battery.
When you raise the lid, cooking automatically stops. The timer freezes where it is as well. When you re-close the lid, cooking will resume where it left off.
3. Actifry 2 in 1 Type Timer
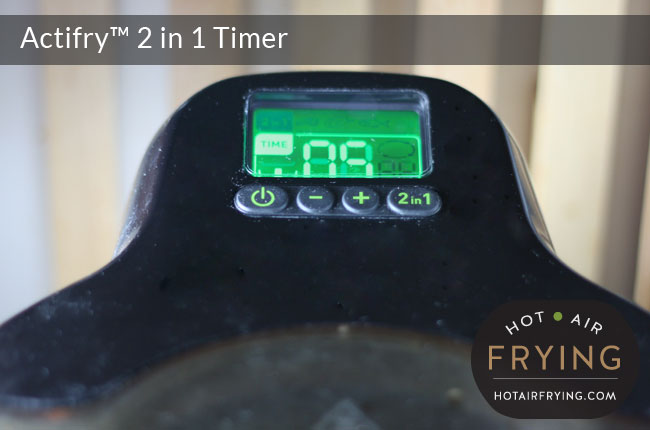
The timer on the Actifry 2 in 1 model actually interacts with the machine to start and stop the machine automatically. It is somewhat complex, however, because it is meant to be two separate timers.
By default, the time you are setting is for the bottom pan. If you are only doing bottom pan cooking, you input the cooking time, then press a GO button which confusingly is a button with the power on / off symbol on it. (The actual electricity power switch is on the right-hand side of the machine, at the back.)
If, however, you are going to be doing both bottom pan and top grill pan cooking, using the timer is a bit more complex, so I’m just going to quote from / paraphrase the manual on this:
- Adjust the total cooking time for the food in the bottom pan using the plus and minus buttons;
- Select the type of food you want to cook in the top tray using the 2 in 1 button;
- Adjust the cooking time for the tray using the plus and minus buttons;
- Push the start button. The cooking starts;
- The minute by minute countdown starts;
- Place the food on the tray;
- When the appliance beeps and stops automatically, open the lid and put the tray in;
- Close the lid again and press the start button;
- The countdown resumes.
When you raise the lid, cooking will automatically start. The timer freezes where it is as well. To resume cooking, close the lid and press the go button.
The timer is fully electric and does not require a battery.
4. Actifry Express Type Timer
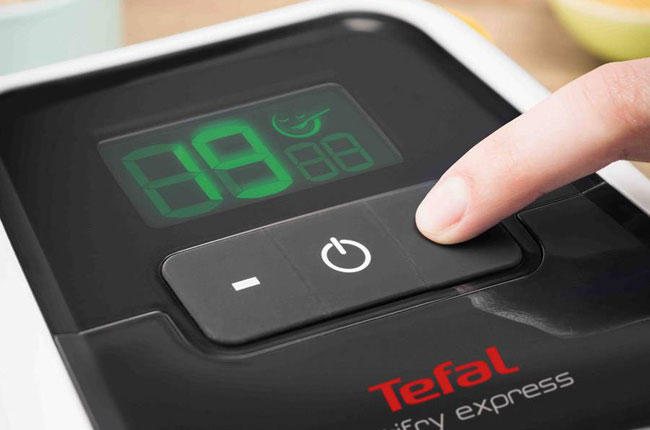
Tefal publicity photo
Using the plus and minus buttons, you set the cooking time, then press a GO button in between those two buttons. The timer stops the machine automatically when the chosen cooking time is over.
5. Actifry Essential
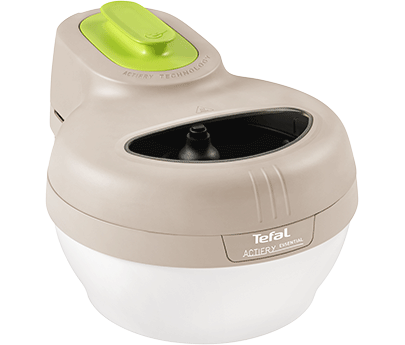
With the Actifry Essential model, no timer at all provided. You use another kitchen timer.
Leave a Reply